

Before you start
Stripe Connect is one of the payout options available to authors on Short Story Lovers. If you want to receive subscription or supporter payments through Stripe, you must first connect your Stripe account and complete Stripe’s onboarding process.
Stripe Connect is available only in supported countries, and Stripe makes the final decision about account eligibility. If Stripe Connect is not available to you, you can use Direct Bank Transfer.
To connect with Stripe, you will need:
- A Short Story Lovers account. If you don't have one, you can sign up here.
- An email address and a password. You will use these to create your Stripe account.
- A mobile phone number. You will receive a one-time password (OTP) to confirm your phone number.
- A bank account. You will need to provide your bank details to receive payouts from Stripe.
- You will also need to provide some personal and business information to verify your identity and comply with the local regulations.
Connecting with Stripe
Follow these steps to connect your Stripe account and complete the onboarding process.
1. Log in to your Short Story Lovers account and navigate to the Payouts page.
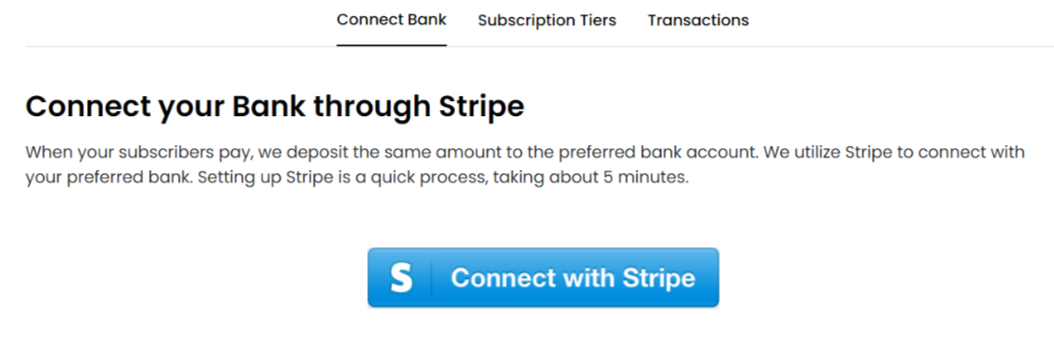
2. Click on the Connect with Stripe button.
- A pop-up will appear, asking you to select your country.
Check Stripe Connect availability for your country
Short Story Lovers currently allows Stripe Connect onboarding attempts for the countries listed below. Being listed does not guarantee approval. Stripe confirms final eligibility during onboarding.
Available countries
103 countries- Albania
- Antigua & Barbuda
- Argentina
- Armenia
- Australia
- Austria
- Bahamas
- Bahrain
- Belgium
- Benin
- Bolivia
- Bosnia & Herzegovina
- Botswana
- Brunei
- Bulgaria
- Cambodia
- Canada
- Chile
- Colombia
- Costa Rica
- Cyprus
- Czech Republic
- Côte d’Ivoire
- Denmark
- Dominican Republic
- Ecuador
- Egypt
- El Salvador
- Estonia
- Ethiopia
- Finland
- France
- Gambia
- Germany
- Ghana
- Greece
- Guatemala
- Guyana
- Hong Kong
- Hungary
- Iceland
- Ireland
- Israel
- Italy
- Jamaica
- Japan
- Jordan
- Kenya
- Kuwait
- Latvia
- Lithuania
- Luxembourg
- Macao SAR China
- Madagascar
- Malta
- Mauritius
- Mexico
- Moldova
- Monaco
- Mongolia
- Morocco
- Namibia
- Netherlands
- New Zealand
- Nigeria
- North Macedonia
- Norway
- Oman
- Pakistan
- Panama
- Paraguay
- Peru
- Philippines
- Poland
- Portugal
- Qatar
- Romania
- Rwanda
- Saudi Arabia
- Senegal
- Serbia
- Singapore
- Slovakia
- Slovenia
- South Africa
- South Korea
- Spain
- Sri Lanka
- St. Lucia
- Sweden
- Switzerland
- Taiwan
- Tanzania
- Thailand
- Trinidad & Tobago
- Tunisia
- Turkey
- United Arab Emirates
- United Kingdom
- United States
- Uruguay
- Uzbekistan
- Vietnam
Preview availability
19 countriesAvailability is in preview and may be limited.
- Algeria
- Angola
- Azerbaijan
- Bangladesh
- Bhutan
- Brazil
- Croatia
- Gabon
- Georgia
- Gibraltar
- India
- Indonesia
- Kazakhstan
- Laos
- Liechtenstein
- Malaysia
- Mozambique
- Niger
- San Marino
If your country is not listed, or Stripe cannot approve your onboarding, you can use Direct Bank Transfer from the Payouts page.
- Choose your country from the drop-down menu and click on the Proceed button.
- You will be redirected to the Stripe website.
Note: We are using Stripe to have the highest level of security of your and your subscribers' data.
3. Enter your email address and click on the Continue button.
You will receive an email from Stripe with a link to activate your account.
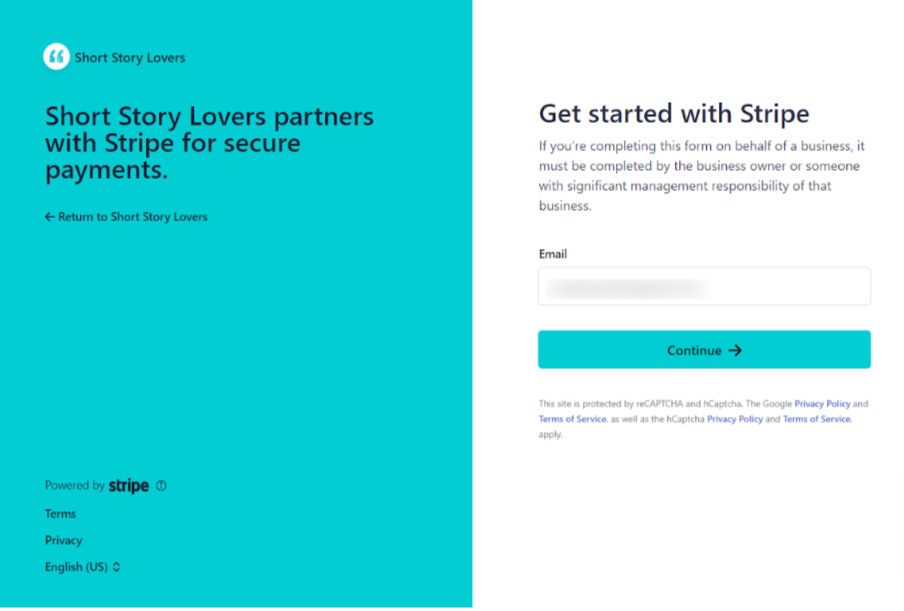
4. Set your password and click on "Continue" button
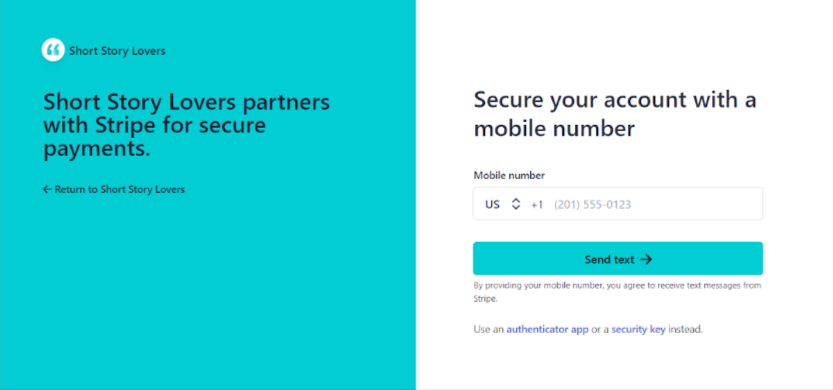
5. Enter your mobile phone number and click on the Continue button. You will receive a text message from Stripe with a one-time password (OTP) to confirm your phone number.
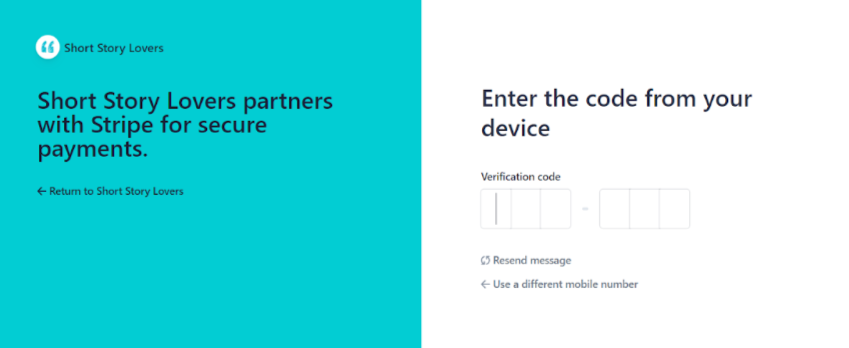
6. Enter the OTP and click on the Next button. You will be asked to provide some personal and business information to verify your identity and comply with the local regulations.
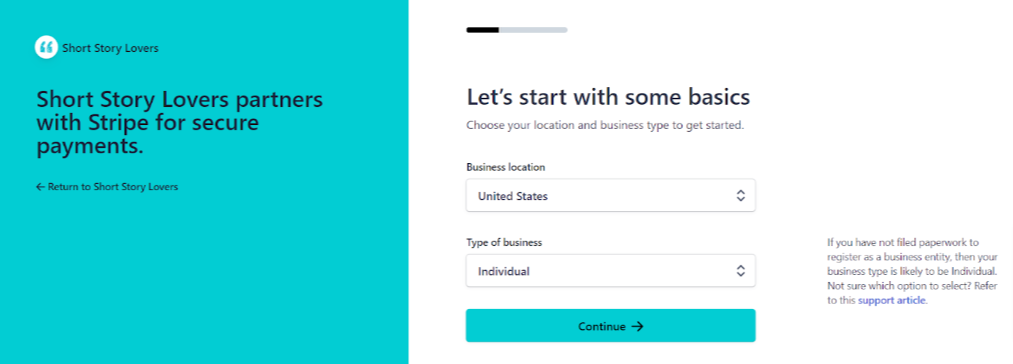
7. Select your business location and type of business from the drop-down menus. Depending on your country and business type, you may need to provide different information. For example, you may need to provide your full name, date of birth, address, tax identification number, etc. Fill in the required fields and click on the Continue button.
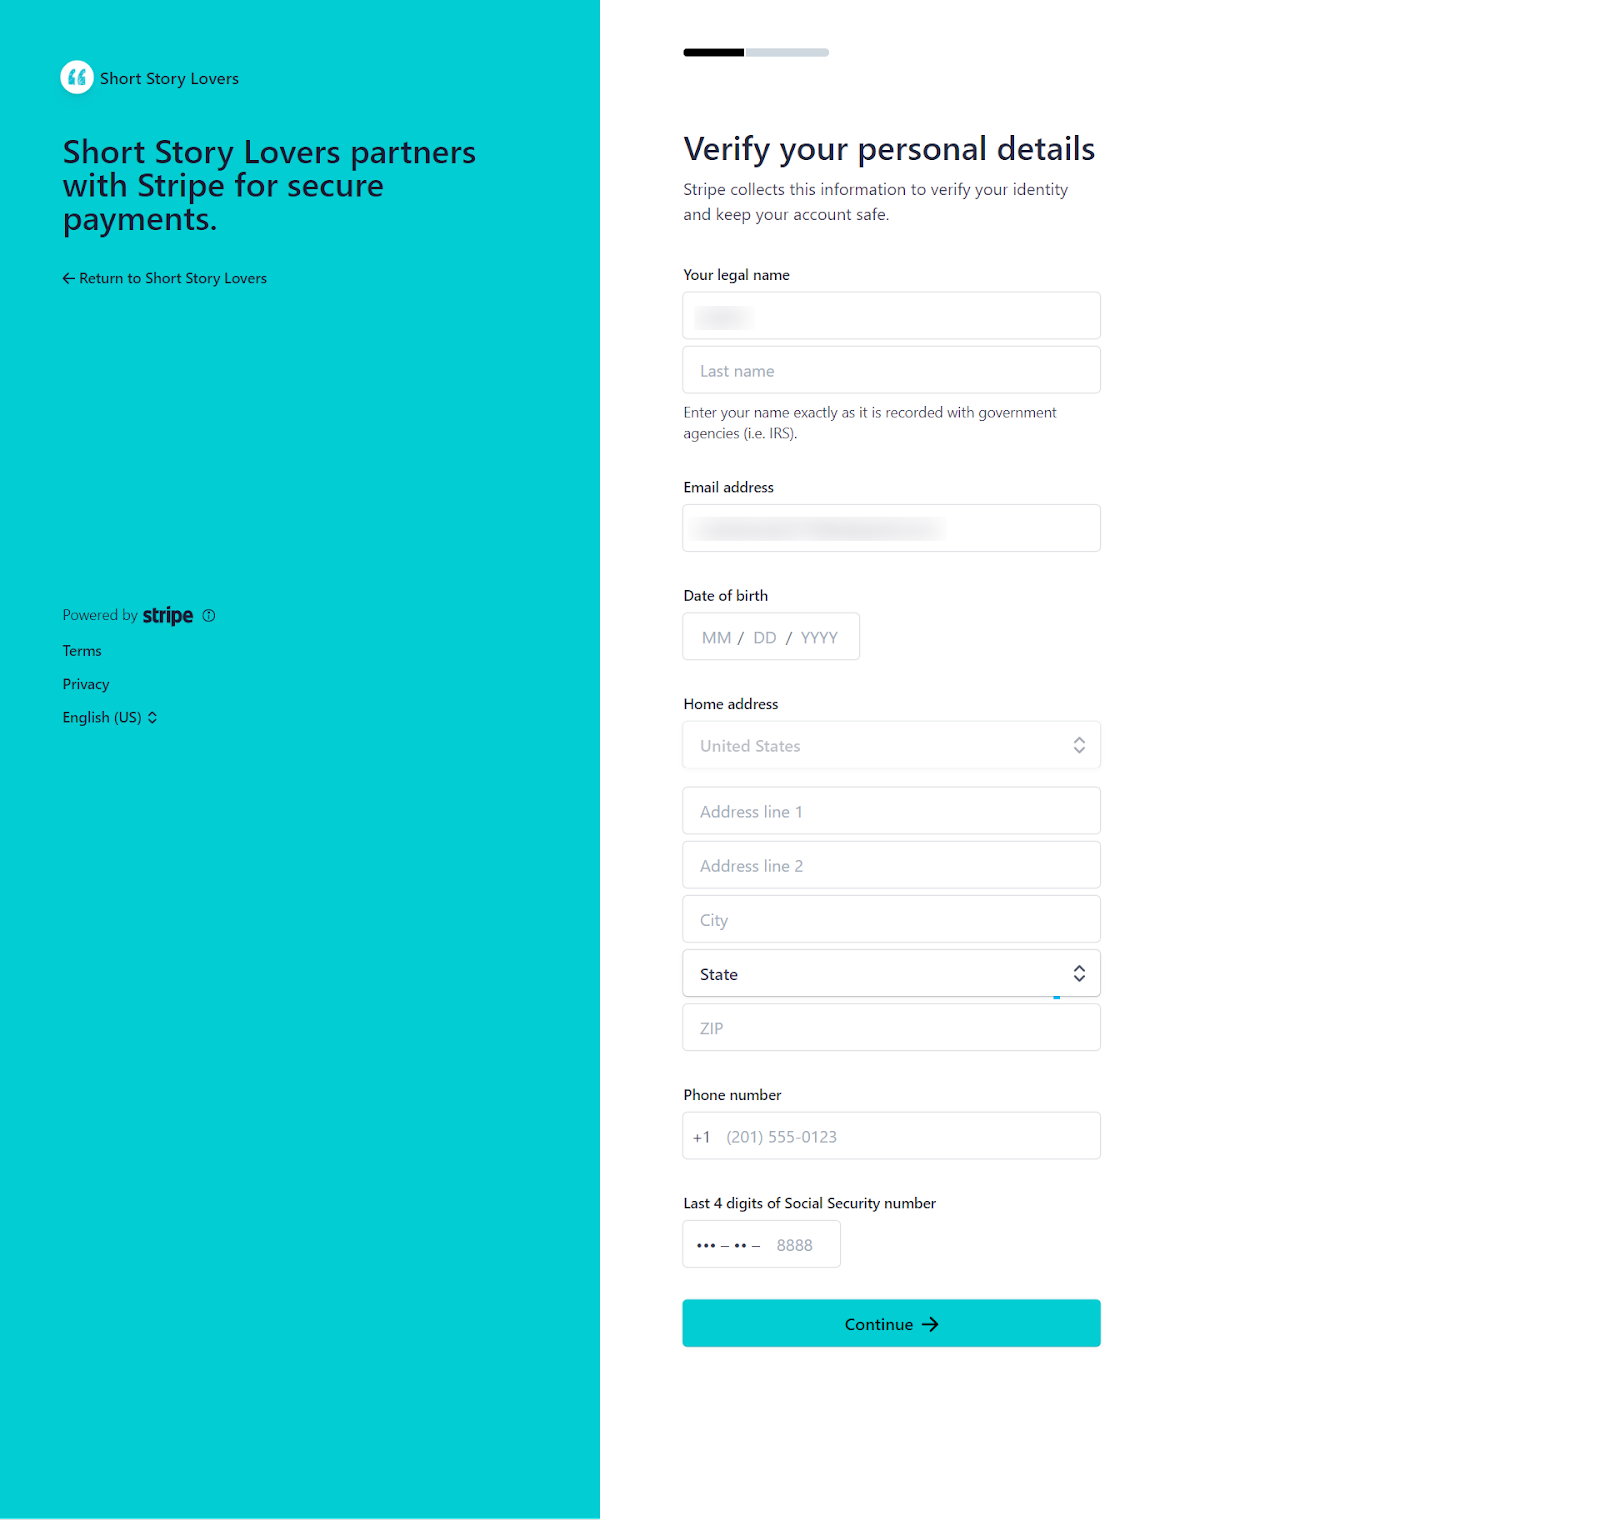
8. Enter your Personal Details like, DOB, Address etc.
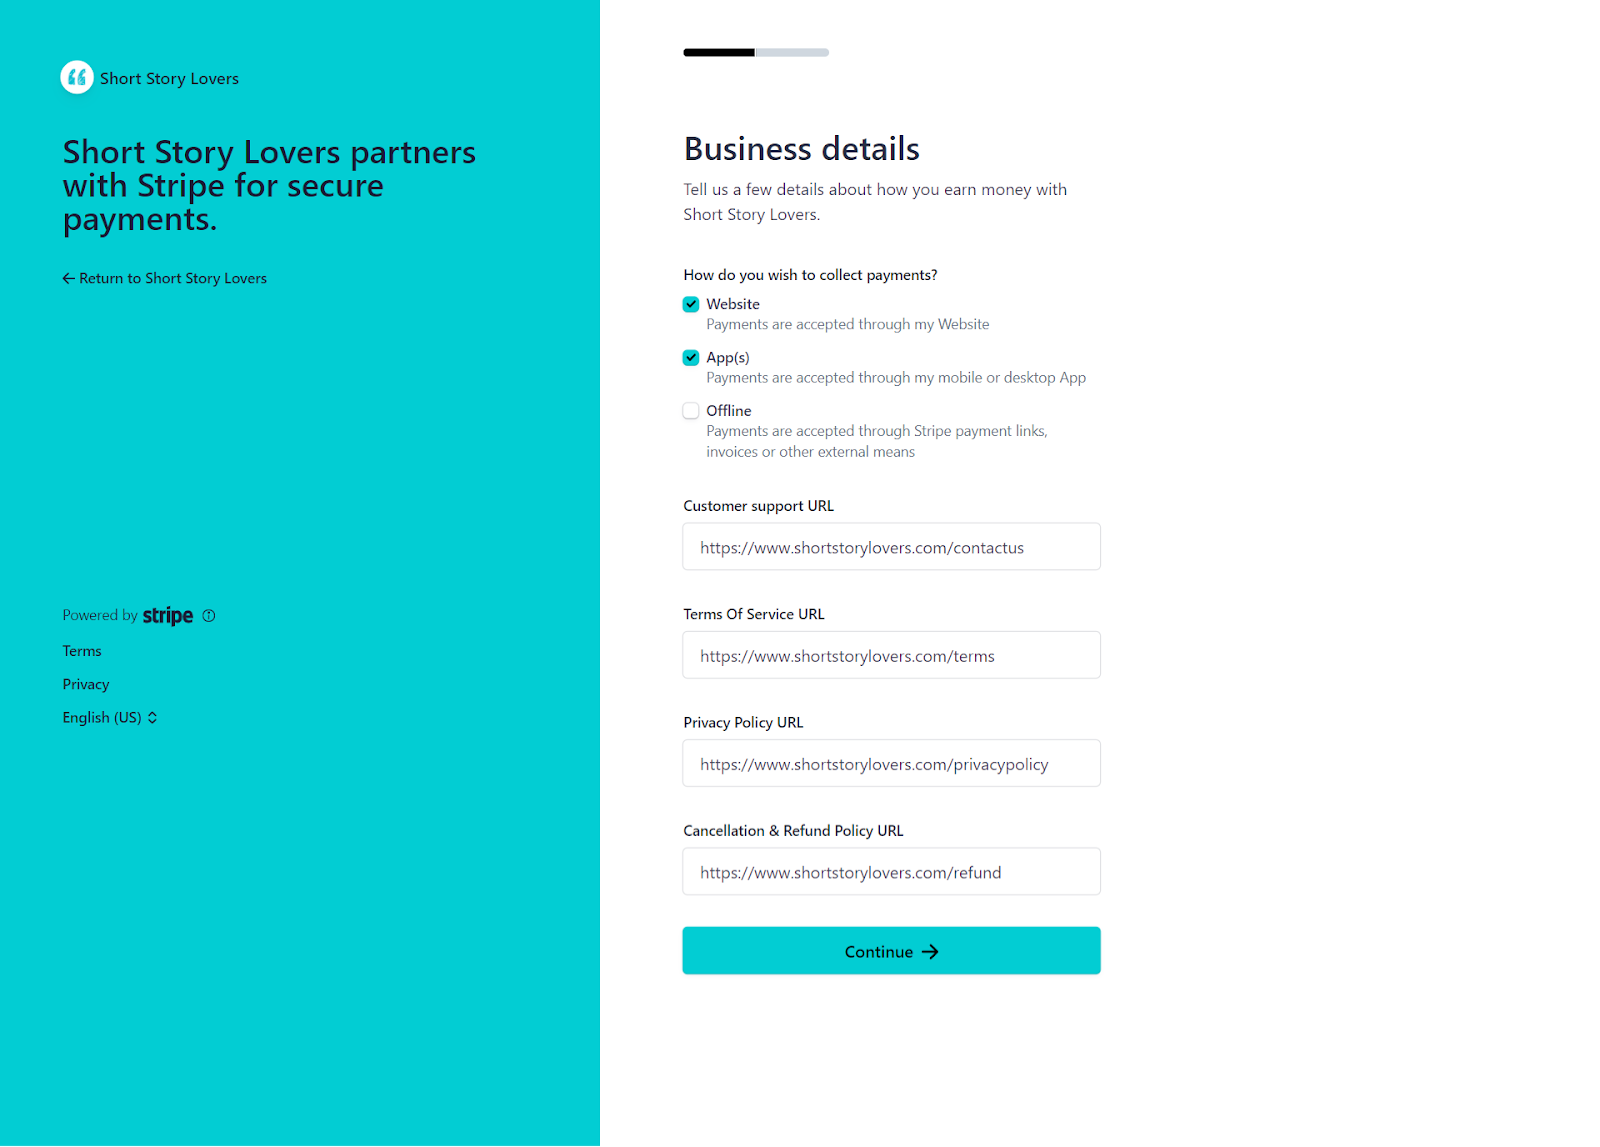
9. In certain countries, Stripe may ask for some extra details in Business Details section, such as your customer support URL, your terms of service URL, your privacy policy URL, and your cancellation and refund policy URL.
You can add the following URLs for these fields:
- Customer Support URL: https://www.shortstorylovers.com/contactus
- Terms Of Service URL: https://www.shortstorylovers.com/terms
- Privacy Policy URL: https://www.shortstorylovers.com/privacypolicy
- Cancellation & Refund Policy URL: https://www.shortstorylovers.com/refund
Enter the URLs and click on the Continue button.
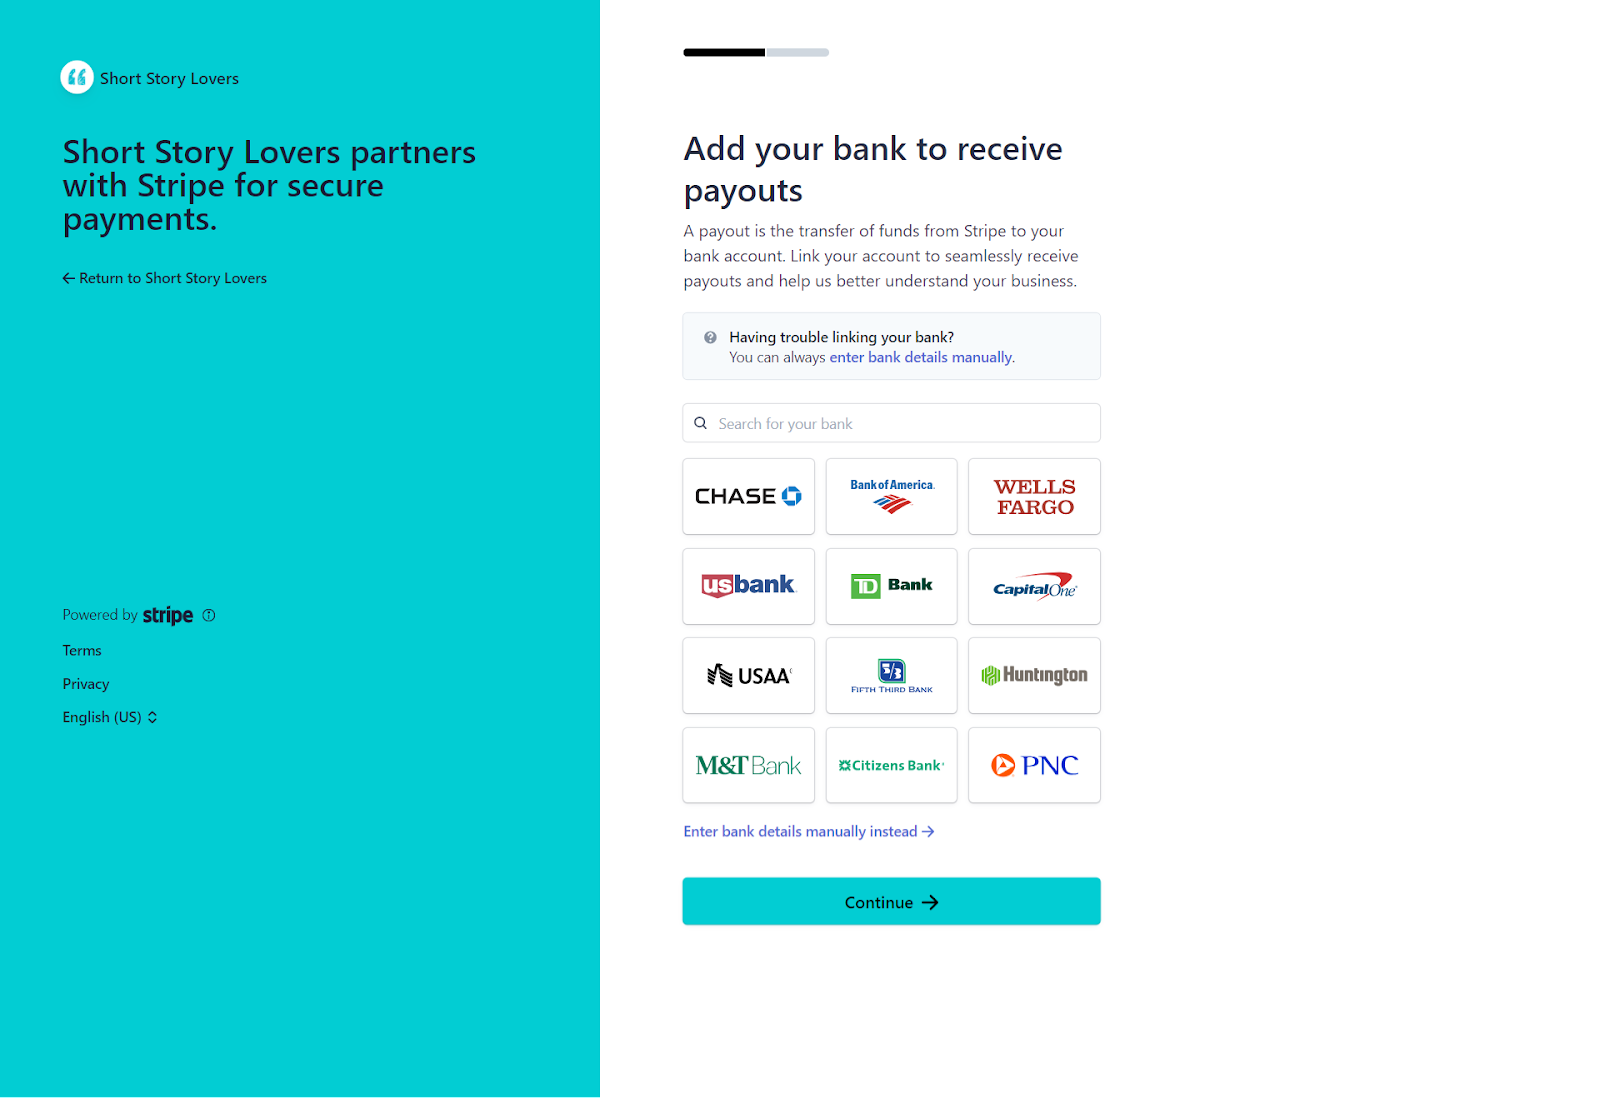
10. Select your bank, add your bank details, and click on the Continue button. You will need to provide your bank name, account number, routing number, etc. Make sure the bank details are correct and match your bank account.
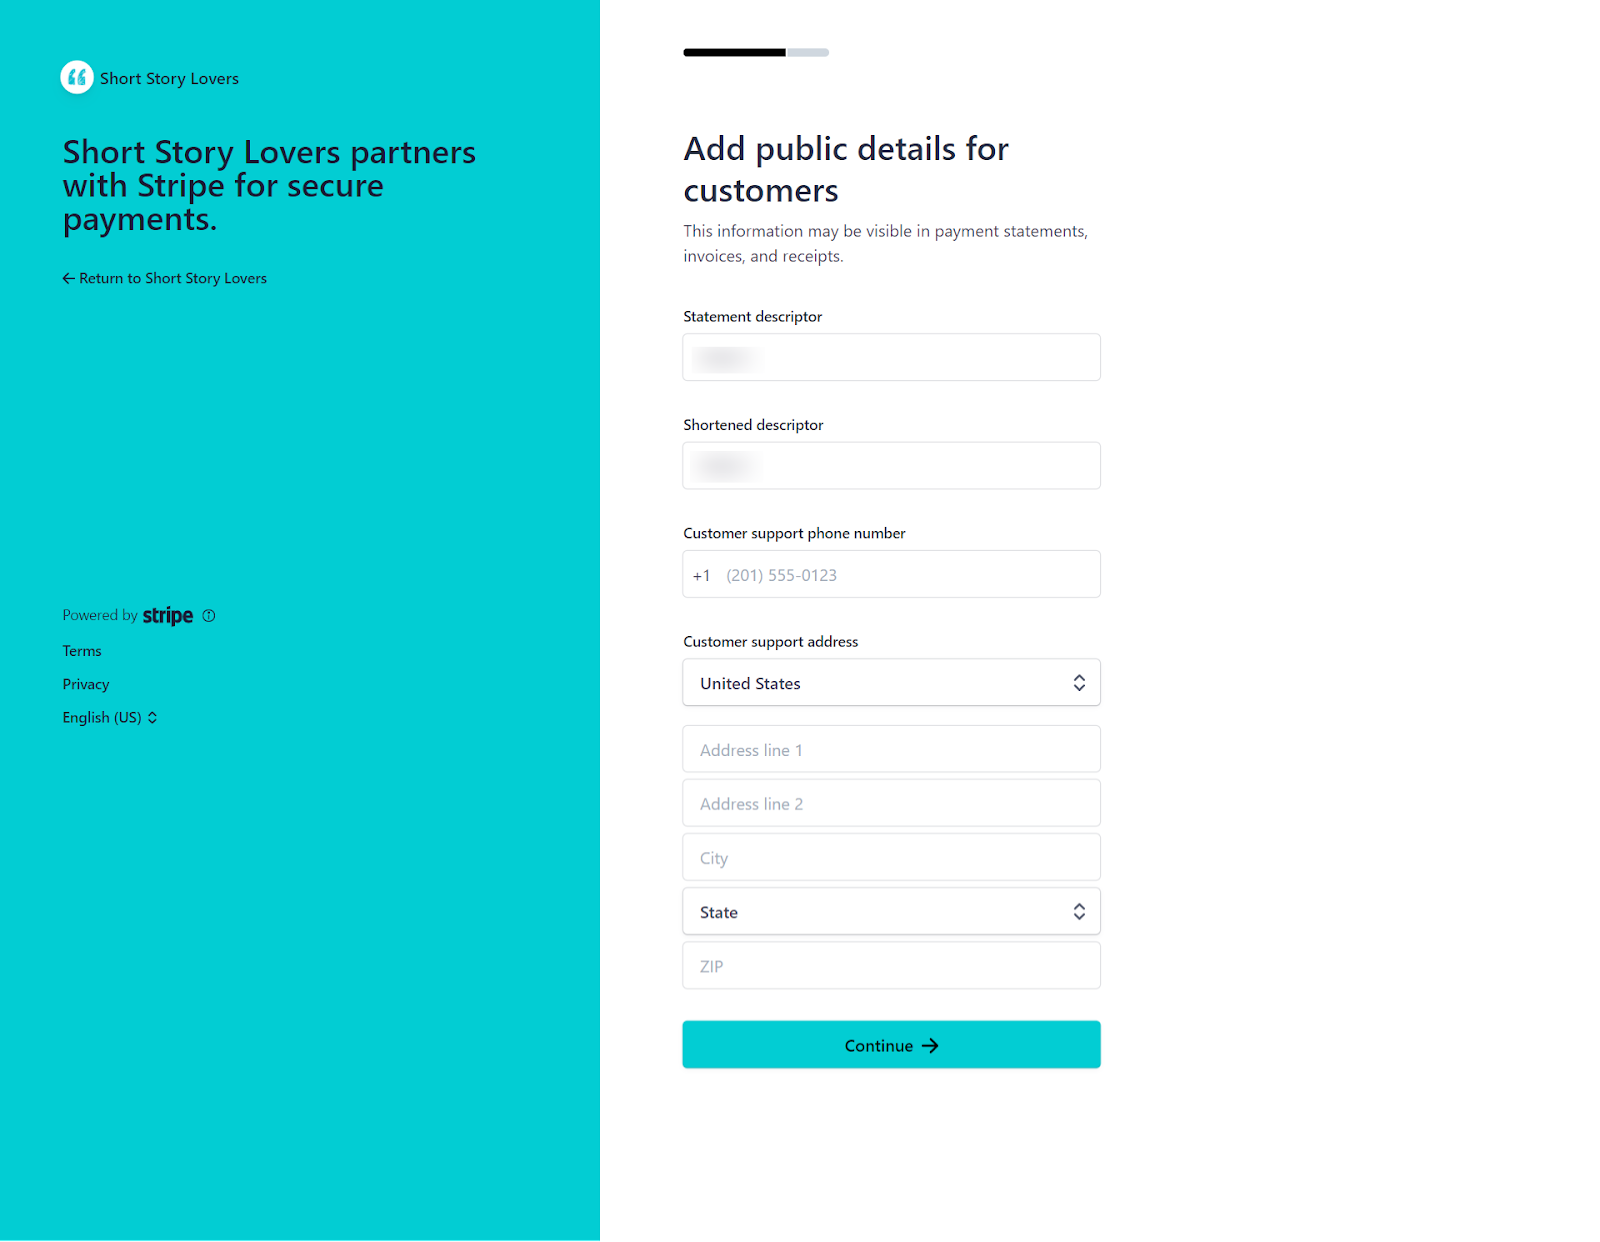
11. Add your public details for customers and click on the Continue button.
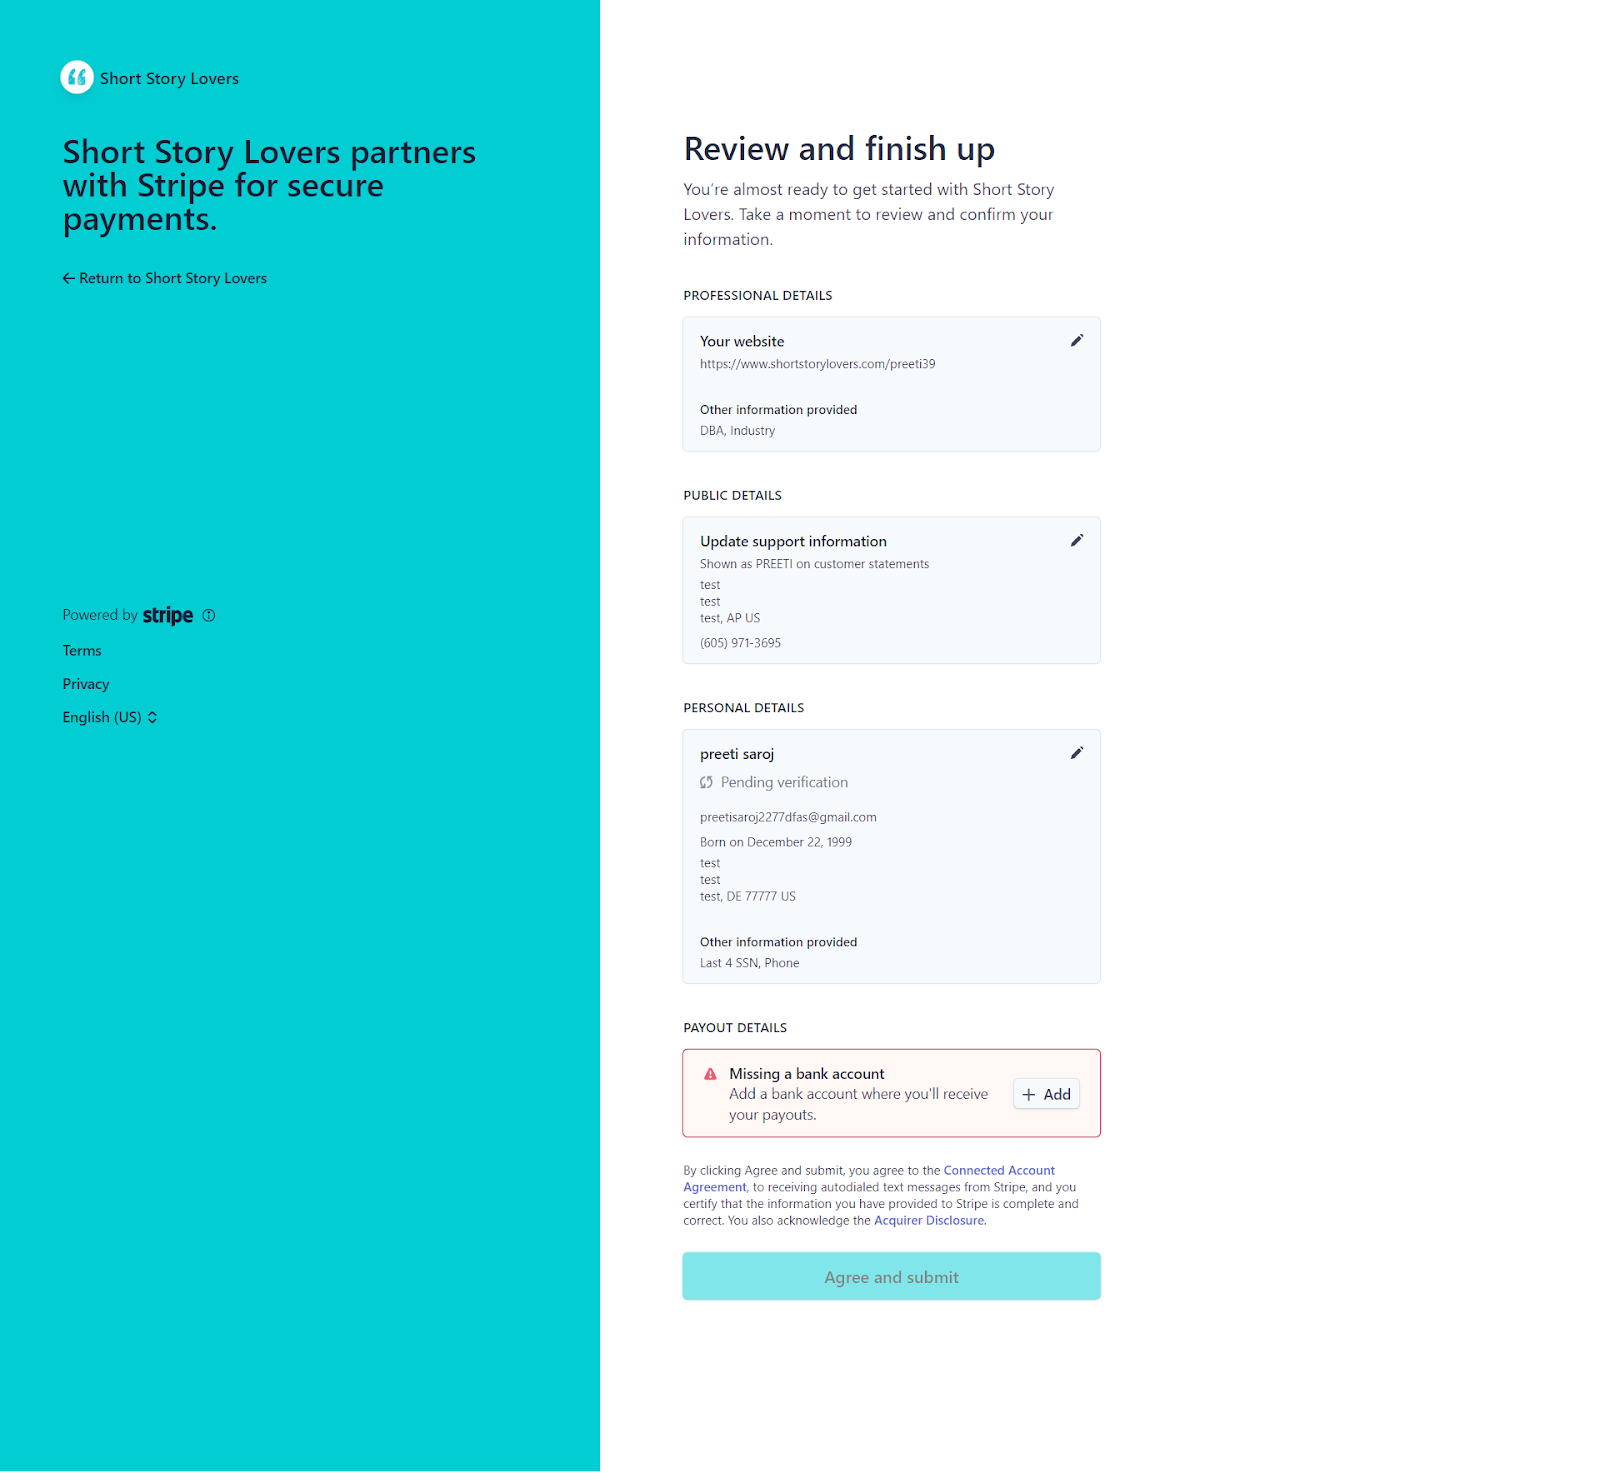
12. Review your personal and business details and click on the Agree and Submit button. Make sure no information is missing or incorrect. You will also need to agree to the Stripe Services Agreement and the Stripe Connected Account Agreement.
After connecting with Stripe
After successfully connecting with Stripe, you will be redirected to the Short Story Lovers Payouts page. You will see a confirmation message that your Stripe account is connected and ready to receive payments. You will also see your payout balance, your payouts schedule, and your payouts history.
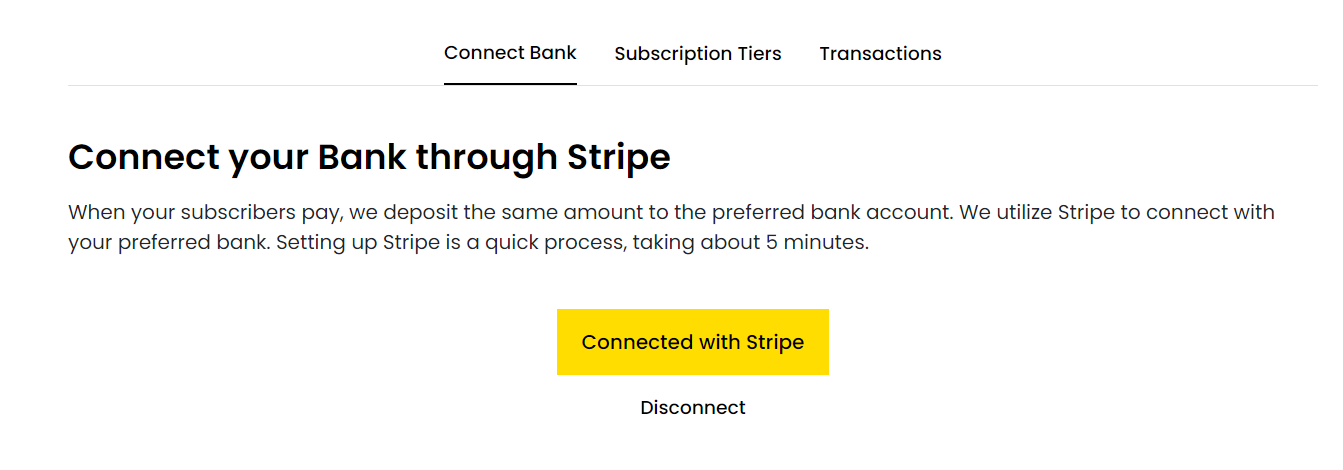
You can now start receiving payments from your subscribers. You can also manage your Stripe account settings, such as your payouts method, your tax information, your verification status, etc. by clicking "Connected with Stripe" button on your Payouts page.
Also, for any issues related to Stripe you have to contact Stripe directly, as we have no control over Stripe accounts. Generally their help is quite fast.
But you can always write your issues to us at [email protected]